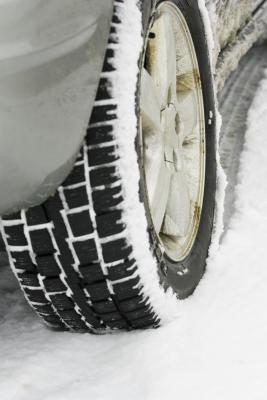
Tire pressure monitoring systems became a staple on luxury cars in the late 1990s. Through the 2000s, buyers began seeing TPMS on some high-end domestic cars and light trucks. This system came in two styles early on, direct and indirect. The indirect TPMS system used the anti-lock brake system to measure wheel speed. If one wheel rotated at a slower rate than the other three, an indication of low pressure, the TPMS system would kick on. The direct system has a pressure sensor inside the rim that relays pressure to the TPMS computer.
Things You’ll Need
- Compressed air source with a tire inflation chuck
- Tire pressure gauge
Step 1
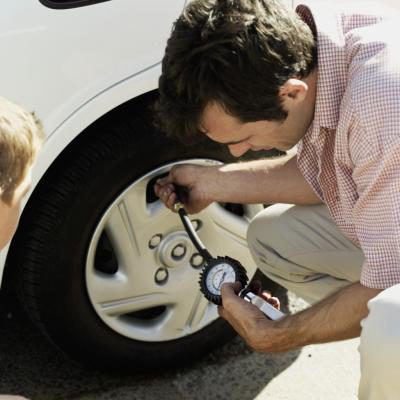
Park the Sentra near a compressed air source that has a tire inflation chuck. Unscrew the caps from the valve stem – the valve protruding from the rim – on each of the four tires and place them in a secure area to prevent losing them.

Step 2
Check the tire pressure on all four wheels by pressing the end of the tire pressure gauge onto the end of the valve stem. Read the pressure measured by the tire gauge and notate the pressures on all four tires. Nissan recommends always checking and filling your tires when they are cold, but you can check them hot if you are pressed for time.
Step 3
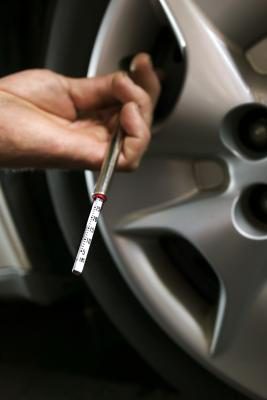
Read the sidewall of the tire and find the size stamped on it. You will have one of three sizes: 205/60R15, 205/55R16 or 225/45R17. The recommended tire pressure for these tires is 33 psi, 33 psi and 35 psi, respectively. Compare the pressure measured in step 2 to the manufacturer’s recommended pressure for the
Sentra’s tires to determine which tires need additional air.
Step 4
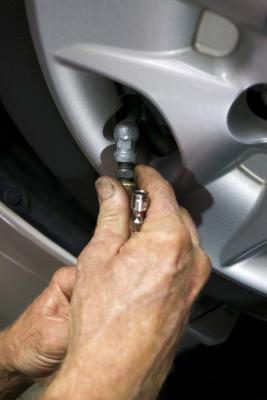
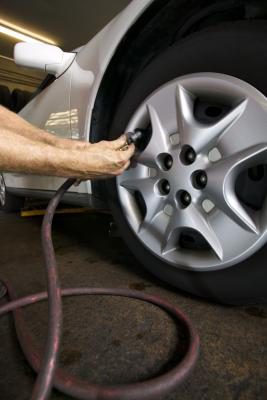
Press the tire inflation chuck connected to the compressed air source onto the end of the valve stem firmly to start the flow of air into the tire. A good rule of thumb when inflating a tire is that for every three to five seconds of inflating the tire, you add about 1 psi to the tire.
Step 5
Using the formula in step 4, hold the tire inflation chuck for the amount of time needed to bring the pressure back up to the manufacturer’s specifications. Remove the tire inflation chuck and check the air pressure with a tire gauge. Repeat this step as needed until the tire reaches the manufacturer’s specification. If you overfill the tire, don’t fret, as you can simply press the small button inside the top of the valve stem with a pen or the tip of the tire pressure gauge to release some air.
Step 6
Screw the caps back onto the valve stems.

Step 7
Drive the car to speeds above 16 mph and watch for the “Low Tire Pressure” light – located on the instrument cluster – to turn off. If the light does not turn off, recheck the tire pressure. If all the tires check out, there may be a malfunction in the tire pressure monitoring system.

Step 8
Allow the vehicle to sit until the tires are cold. Repeat steps 1 to 7 to obtain the correct “cold” tire pressure – the base-level pressure for the tires.
